Skull Patches: The Ultimate Guide to Customizing Your Jacket, Vest, or Backpack

Skull Patches: The Ultimate Guide to Customizing Your Jacket, Vest, or Backpack
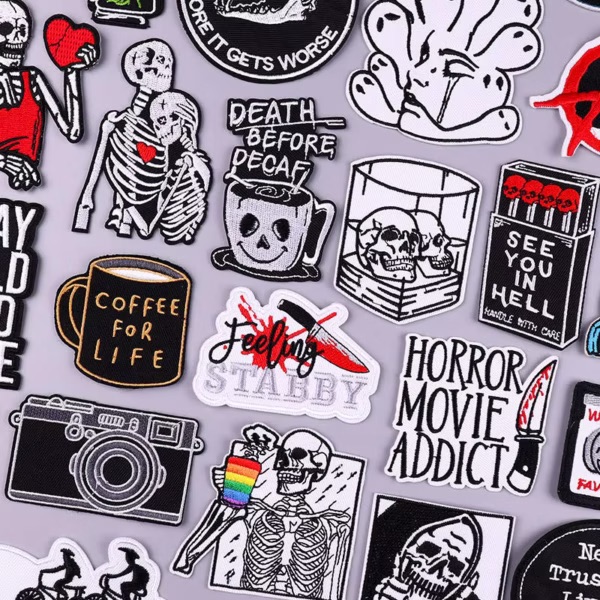
Skull patches have become a staple in biker culture, gothic fashion, and streetwear for one simple reason—they instantly transform ordinary gear into something bold and personal. Whether you’re building a battle vest, upgrading a denim jacket, or adding edge to a backpack, skull patches offer one of the easiest and most affordable ways to stand out.
In this guide, we’ll break down everything you need to know about skull patches, including types, how to apply them, and how to style them for maximum impact.
Why Skull Patches Are So Popular
Skulls have long symbolized rebellion, strength, and individuality. From motorcycle clubs to punk rock scenes, skull imagery has remained timeless. Today, skull patches are worn by:
- Bikers customizing leather vests
- Metal and rock fans building battle jackets
- Gothic fashion enthusiasts
- Anyone looking to add attitude to their gear
The appeal is simple: skull patches let you express identity without saying a word.
Types of Skull Patches
Choosing the right type of patch matters, especially depending on how and where you plan to use it.
Iron-On Skull Patches
Iron-on patches are the easiest to apply. They come with a heat-activated adhesive backing that bonds to fabric in minutes.
Best for:
- Quick customization
- Cotton and denim materials
- Beginners
Pros:
- Fast application
- No sewing required
Cons:
- May loosen over time without reinforcement
Sew-On Skull Patches
Sew-on patches are the most durable option and are preferred for long-term use.
Best for:
- Leather vests
- Heavy-use gear
- Biker jackets
Pros:
- Extremely durable
- Won’t peel off
Cons:
- Requires time and effort to attach
Velcro Skull Patches
Velcro-backed patches are great for flexibility. You can swap designs whenever you want.
Best for:
- Tactical gear
- Backpacks
- Collectors
How to Apply Skull Patches
Iron-On Method
- Set your iron to medium-high heat (no steam)
- Place the patch on your garment
- Cover with a cloth
- Press firmly for 20–30 seconds
- Let it cool before moving
Pro tip: For long-term durability, stitch around the edges after ironing.
Sewing Method
- Position the patch
- Use pins or fabric glue to hold it in place
- Stitch around the border using strong thread
This method takes longer but ensures your patch stays put—even under heavy wear.
How to Style Skull Patches
Skull patches can be styled in multiple ways depending on your look:
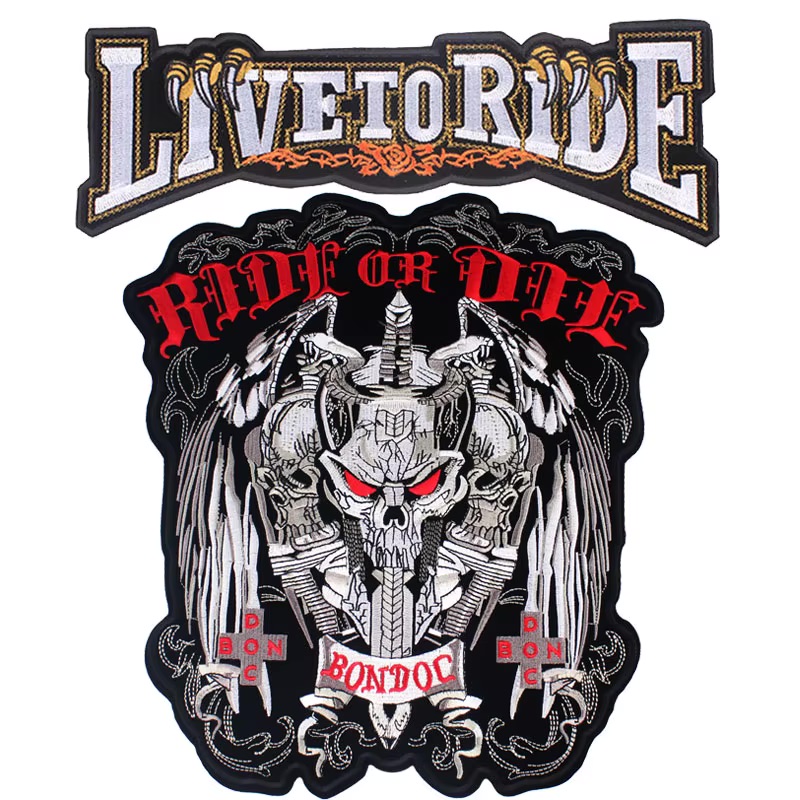
Biker Style
- Place large skull patches on the back of a vest
- Add smaller patches on the front or shoulders
Battle Jacket (Metal/Punk)
- Mix skull patches with band patches
- Fill the entire jacket for a layered look
Minimalist Edge
- Use one or two patches on a sleeve or chest area
- Keep the rest clean for contrast
Backpack Customization
- Add patches to school bags, travel packs, or tactical gear
- Great for making your bag easy to recognize
Where to Put Skull Patches
Popular placement areas include:
- Back panels (for statement designs)
- Chest area (for smaller accents)
- Sleeves and shoulders
- Hats and backpacks
Placement matters—think of your gear like a canvas.

Skull Patches as Collectibles
Many people collect skull patches just like pins or coins. Limited designs, detailed embroidery, and unique artwork make them highly collectible. They’re also a great low-cost gift for anyone into alternative fashion or biker culture.
Final Thoughts
Skull patches are more than just accessories—they’re a form of self-expression. Whether you want a rugged biker look, a punk-inspired jacket, or just a subtle edge, there’s a skull patch that fits your style.
If you’re ready to upgrade your gear, browse our collection of skull patches and find the perfect design to match your personality.
Shop Skull Patches Now and Start Customizing Your Look Today.
Skull Patches: The Ultimate Guide to Customizing Your Jacket, Vest, or Backpacks