
How to Use Iron On Patches on Jackets, Bags, and Denim
How to Use Iron On Patches on Jackets, Bags, and Denim
Iron on patches are one of the easiest ways to customize jackets, vests, backpacks, jeans, hats, canvas bags, and everyday gear. Whether you like skull patches, gothic patches, biker patches, punk patches, or Viking-inspired designs, patches give plain fabric more personality without needing a full sewing project.
They work especially well on sturdy materials like denim, cotton, canvas, and heavy workwear fabric. These fabrics can usually handle the heat and pressure needed to bond the adhesive backing to the item.
Before applying any patch, always check the care label on the clothing or bag. Some materials can be damaged by high heat. Leather, vinyl, nylon, waterproof coatings, delicate fabrics, stretchy synthetics, and thin materials may not be safe for a hot iron.
What You Need to Apply an Iron On Patch
You do not need much equipment to apply most iron on patches. A simple home setup is usually enough.
You will need:
A clean jacket, bag, vest, hat, or piece of denim
An iron
A flat heat-safe surface
A thin cotton cloth or pillowcase
The iron on patch
Optional needle and thread for extra hold
Avoid using steam unless the patch instructions specifically say to use it. Dry heat and firm pressure usually work better for iron on patch backing.
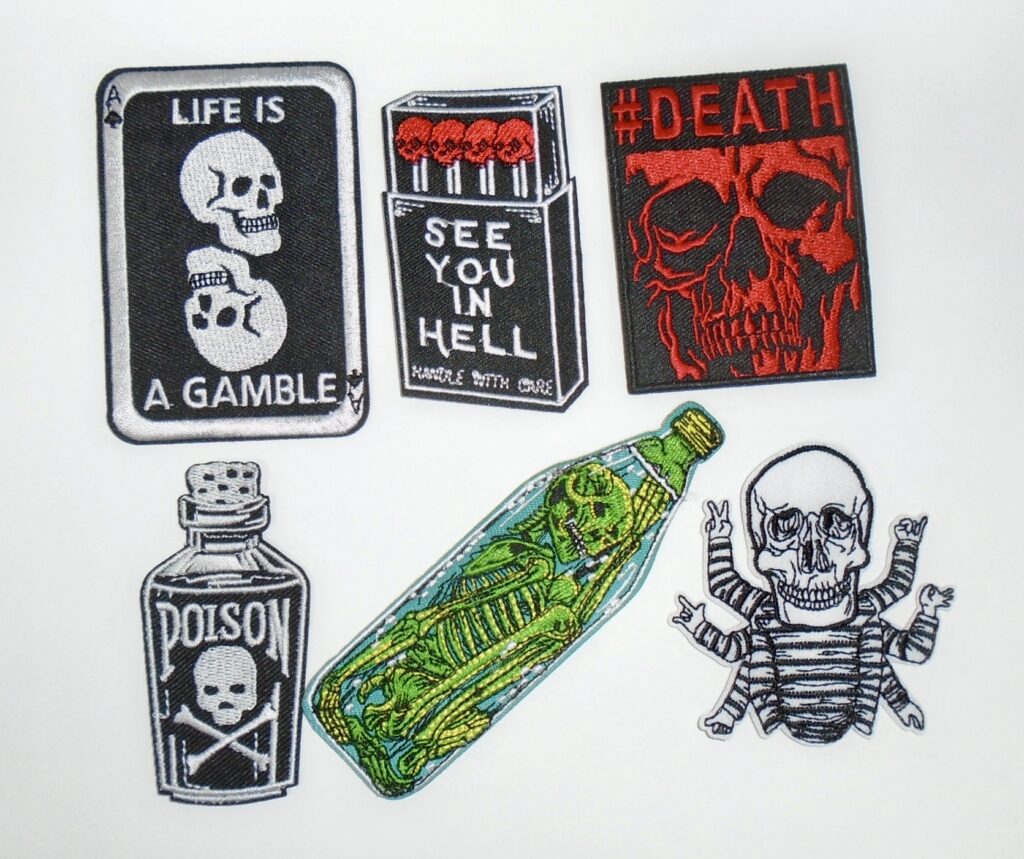
Best Fabrics for Iron On Patches
Iron on patches usually work best on:
Denim jackets
Jean vests
Cotton shirts
Canvas backpacks
Canvas tote bags
Heavy cotton hoodies
Work shirts
Fabric costume pieces
They are not always the best choice for leather jackets, vinyl bags, waterproof backpacks, nylon windbreakers, or stretchy workout clothing. For those items, sewing the patch on or using a different attachment method may be safer.
If you are unsure, test heat on a hidden area first.
How to Apply an Iron On Patch
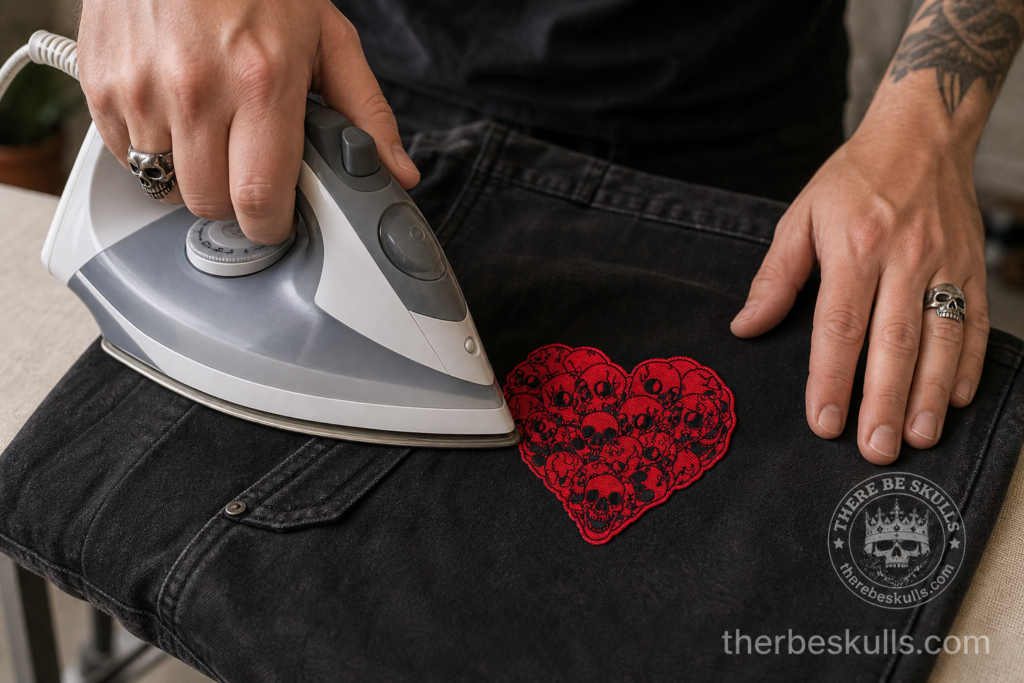
Place your item on a flat, sturdy surface. Smooth out the fabric so there are no wrinkles under the patch.
Position the patch exactly where you want it. Take a moment to step back and check the placement before using heat. Once the adhesive starts bonding, the patch may be harder to move.
Cover the patch with a thin cotton cloth. This protects the patch surface from direct heat and helps prevent scorching.
Press the hot iron straight down over the patch. Do not slide the iron back and forth. Use firm pressure and hold it in place. The goal is to heat the adhesive backing evenly so it bonds to the fabric.
Let the patch cool completely before touching the edges. After it cools, gently test the corners. If the edges lift, cover it again and press with more heat and pressure.
For jackets, backpacks, vests, and items that will get heavy wear, sewing a few stitches around the edge gives the patch a much stronger hold.
Should You Sew Iron On Patches Too?
For light use, ironing may be enough. For heavier use, sewing is strongly recommended.
A patch on a display vest or jacket worn occasionally may stay in place with just heat. A patch on a backpack, work jacket, motorcycle vest, or everyday denim jacket will usually last longer if it is also stitched around the edge.
This is especially true for patches placed near seams, pockets, elbows, shoulders, or bag straps. Those areas get more movement and friction.
Where Skull Patches Look Best
Skull patches look great on denim jackets, black hoodies, canvas backpacks, battle vests, work shirts, hats, and costume pieces. They can be used as one bold centerpiece or mixed with smaller patches for a layered look.
Good patch placement ideas include:
Back of a denim jacket
Front chest of a vest
Shoulder area of a jacket
Side of a backpack
Front of a canvas tote
Hat front or side panel
Pocket area on jeans
Sleeve of a work shirt
Smaller skull patches are useful for filling empty spaces between larger designs. A matching set of patches can also create a more finished look across a jacket, bag, or vest.
Skull Patch Style Ideas
Skull patches can fit many different styles depending on the design.
A gothic skull patch works well with black denim, dark jewelry, boots, and layered accessories.
A biker-style skull patch looks natural on denim vests, work shirts, motorcycle jackets, and canvas gear.
A punk skull patch pairs well with pins, studs, band patches, ripped denim, and bold colors.
A Viking-inspired skull patch can work with Norse jewelry, Celtic designs, knotwork, leather accessories, and darker medieval-style outfits.
A pirate skull patch looks great on bags, jackets, hats, costume pieces, and nautical-inspired gear.
How to Care for Iron On Patches
Patched clothing should be washed with care. Turn clothing inside out before washing. Use cold water when possible and avoid harsh dryer heat. Air drying is best when you want the patch to last longer.
For bags, spot cleaning is often better than soaking the entire item. Too much heat, water, and movement can weaken the adhesive over time.
If a patch starts to lift, press it again with a cloth over the top. If the same edge keeps lifting, add a few stitches to secure it.
Common Iron On Patch Mistakes
One common mistake is sliding the iron around. This can move the patch before the adhesive bonds.
Another mistake is using too much heat on the wrong fabric. Some materials can melt, wrinkle, or discolor.
A third mistake is testing the patch too soon. Let the patch cool before checking the edges. The adhesive needs time to set.
It is also easy to forget that iron on backing is not always permanent on high-wear items. Jackets, bags, and vests that get used often may need stitching for extra strength.
Choosing the Right Patch
Choose a patch based on the item you want to decorate and the style you want to create.
A large patch works well as a centerpiece on the back of a jacket or bag. Smaller patches are better for hats, pockets, sleeves, and tight spaces. A set of patches can help create a complete theme without needing to mix random designs.
For skull fans, gothic dressers, bikers, punk style, horror fans, and alternative fashion, skull patches are an easy way to add personality to everyday gear.
For a small themed set, check out our 3 Skull Iron On Patches. You can use individual designs or apply the set across a jacket, bag, vest, or DIY project.
You can also browse our full skull patch collection for more designs.
Final Thoughts
Iron on patches are a simple way to turn plain jackets, bags, denim, and vests into something more personal. Start with sturdy fabric, use firm pressure, protect the patch with a cotton cloth, and let it cool before testing the edges.
For the strongest hold, especially on jackets and bags, add a few stitches around the edge. That extra step can help your patch stay in place through regular wear, washing, and outdoor use.
For a small themed set, check out our 3 Skull Iron On Patches. You can choose individual designs or pick up the set for jackets, bags, vests, and DIY projects.
You can also browse our full skull patch collection.